Step 1: Prepare the Surface
Clean the area where you want to draw the rangoli.
Sprinkle a little water to remove dust and help the powder stick.
Step 2: Make a Grid
Using chalk or white powder, draw dots in a grid pattern (like rows and columns).
These dots act as guidelines for creating designs.
Step 3: Outline the Design
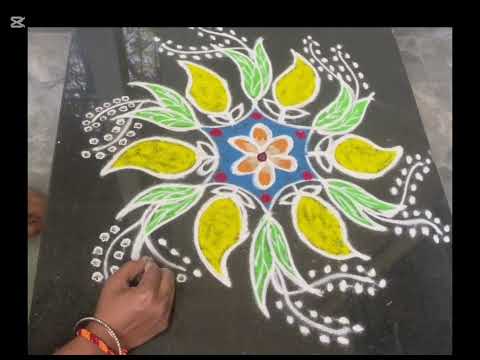
Start with simple shapes like circles, triangles, or flowers.
Connect the dots with smooth curves and lines.
For beginners, try easy patterns such as stars, leaves, or lotus petals.
Step 4: Fill with Colors
Carefully fill each section of the outline with colored powder.
Use contrasting colors to make the design stand out.
You can also blend two colors gently for a gradient effect.
Step 5: Add Borders and Details
Highlight the rangoli with a thin white border to make it look neat.
Add small dots, swirls, or diya (lamp) designs around it for extra charm.
Tips for Beginners
Start with small, simple rangolis before trying big, complex patterns.
Practice symmetry, as rangoli looks best when balanced.
Use stencils if you are not confident about free-hand drawing.