
🌸 Step 1: Draw the Dot Grid
Start by placing dots in a symmetrical pattern (like a square or diamond shape). Keep equal spacing between each dot so the design looks neat and balanced.
🌸 Step 2: Begin with Center Loops
Start from the middle of the grid. Draw small curved loops around the central dots. These loops will form the base of your rangoli design.
🌸 Step 3: Connect the Dots with Curves
Now, extend the curves from the center outward. Join nearby dots using smooth, flowing lines. Make sure the lines curve around the dots rather than touching them directly.
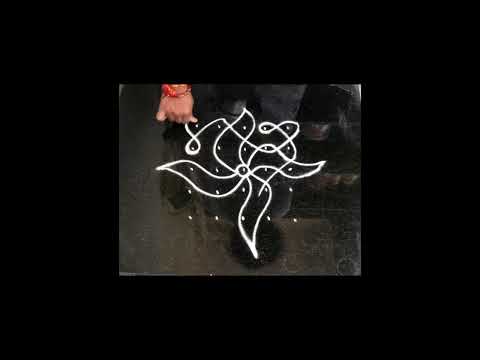
🌸 Step 4: Create Outer Petal Shapes
At the edges, draw teardrop or petalshaped loops around the outer dots. This gives the rangoli a floral and decorative look.
🌸 Step 5: Add Finishing Touches
Draw small circles inside some spaces for decoration
Make all lines darker and smoother
Add colors if you like for a vibrant finish


No comments:
Post a Comment